
IDEAL WEDDING TIMELINE | MELISSA BATZER PHOTOGRAPHY | WASHINGTON WEDDING PHOTOGRAPHER
wedding timeline | washington wedding photographer

After you have chosen the date of your wedding and the venue you will want to begin discussing and deciding on a timeline for the day: the ceremony, dinner time, and exit time. As a photographer, your timeline is the biggest factor for getting gorgeous, natural light pictures. Let me share a little secret with you: I planned my entire wedding timeline around the sun. Making sure that my photographer had enough sunlight for natural light photos because that is what I valued.

If you are writing your timeline, keep in mind these six steps as you go:
Step 1: Look up the time when the sun is setting on your wedding day
Step 2: Plan for portraits 1.5-2 hours before the sun sets.
- Choose your ceremony time (if possible plan this time around the sunset so that your portraits fall between 1.5 – 2 hours before sunset)
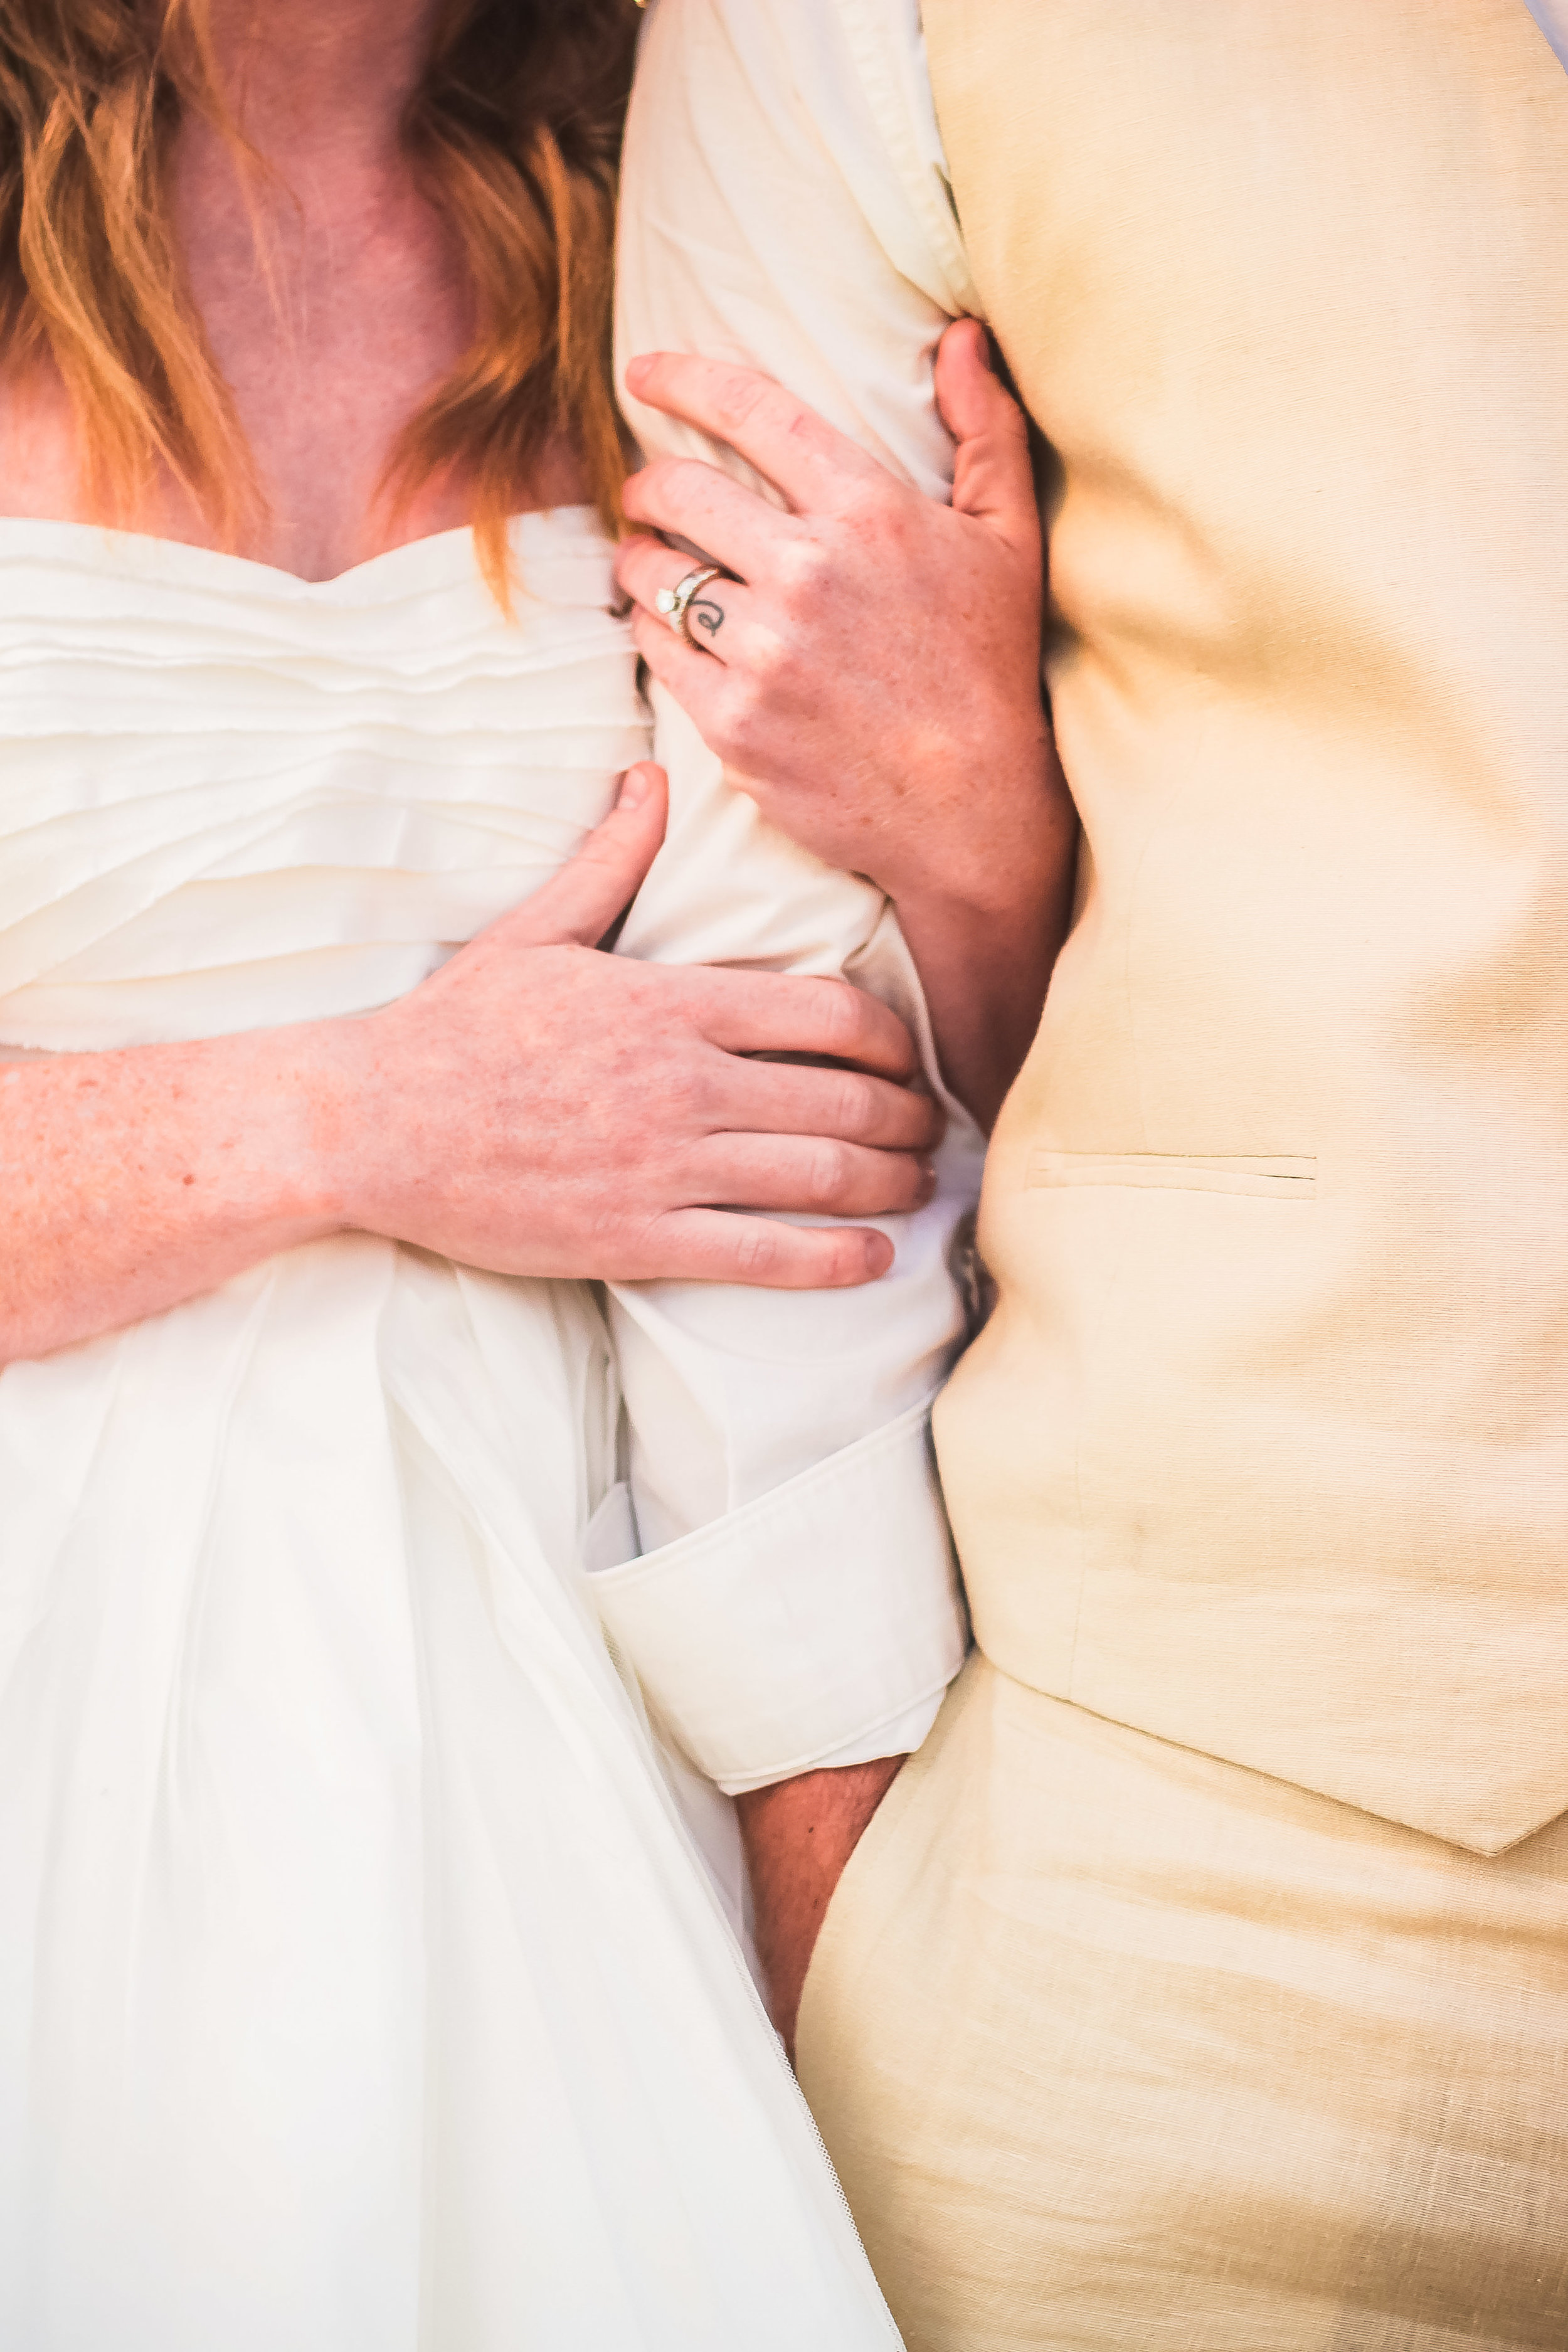
– If you’re getting married inside, be sure to choose a bright time of day when the space is filled with natural light
– If you’re getting married outside, be sure to notice how the sun moves over that spot. Is it in direct sunlight or shaded? Shaded, even light is what you’re looking for!
- at this time the lighting will be the least harsh and the most complimentary on all skin tones
Step 3: Subtract 45 minutes for "hiding" from your ceremony time
- this is the time frame your guests will be arriving and you want to make sure you are finished with your portraits by then so no one sneaks a peek at the bride.
Step 4: Allow ample time before "hiding" for first look and bridesmaid photos
- If you decide to do a first look before your ceremony, know that it will take more time, especially if you would like formals done before the ceremony as well.
- If you have a large bridal party (i.e. 10 bridesmaids & 10 groomsmen) be sure to add more time
Step 5: Schedule family photos, bridal party and bride & groom photos for directly after the ceremony.
- Since everyone is at the location of the ceremony already it will be a lot easier to keep them there for formal photos right after the ceremony.
Step 6: Allow a 15 minutes buffer between events
- Just because we have the buffer doesn't mean you will always need it. If you are on time and don't need it just roll right into the next event. You'll have more relaxing time at the end of the night.

Here is what a sample ideal timeline looks like:
2:00pm – Bridal detail pictures – dress, shoes, jewelry, paper goods
2:45pm – Bride puts wedding dress on
3:00pm – Bridesmaid Portraits
3:20pm – Groomsmen Portraits
3:45pm – First Look
4:15pm – Bridal Party and Family Hiding / Melissa shoots reception & ceremony details
5:00pm – Ceremony
5:45pm – Cocktail Hour / Portraits Begin
6:00pm – Family Pictures
6:30pm – Bridal Party Pictures
6:45pm – Bride + Groom Introduced
7:00pm – Dinner
7:20pm – Bride & Groom Portraits
8:02pm – Sunset
8:00pm – Cake Cutting & Toasts
8:15pm – Guests move to tent for reception and dancing
10:00pm – Sparkler Exit
Remember that your wedding timeline may not look like this if you are getting married in the fall or the winter so be sure to check the time of sunset before you begin planning.
Do not be discouraged if your timeline does not look like this. A good photographer can get you beautiful photos at whatever time of day. If you are dealing with a lot of dark light during a part of your wedding I cannot tell you enough: trust your photographer. Best of luck planning your wedding day!